APEX EcoBuilt
Leading Manufacturer of Aluminum Systems & Modular Housing
APEX EcoBuilt
Leading Manufacturer of Aluminum Systems & Modular Housing


 15 Jun, 2026Knowledges
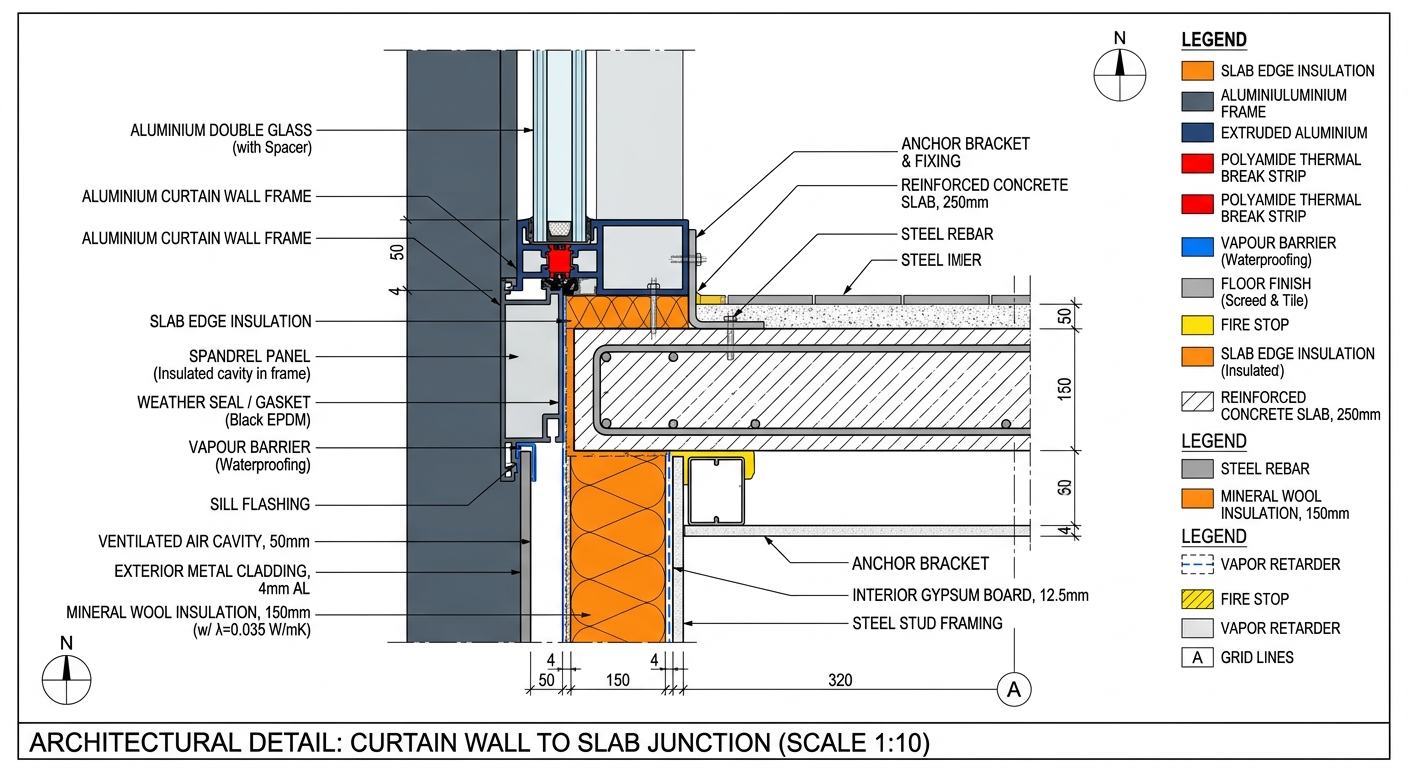
Thermal bridges — those sneaky pathways where heat escapes through conductive materials like aluminum, steel, and concrete — can drain 20–30% of your building’s energy performance even when your insulation specs look perfect on paper. They hide at slab edges, window perimeters, balcony connections, and every spot where structural elements punch through the thermal envelope. The fix isn’t more insulation; it’s smarter detailing, thermally broken framing, and catching the problem at design stage before it’s literally cast in concrete.
A thermal bridge is any part of the building envelope where a more conductive material creates a shortcut for heat to flow between inside and outside. Think of it like a leak in a water pipe — you can wrap the rest of the pipe in foam, but the heat still pours out through that one weak point.
Here’s the counterintuitive part: adding more insulation to the walls often does almost nothing if the bridges remain. A building with R-30 walls and unmitigated slab-edge bridges can perform worse than a building with R-20 walls and properly detailed junctions. Heat, like water, finds the path of least resistance.
The industry quantifies this with the psi-value (Ψ) — linear thermal transmittance measured in W/m·K. A poorly detailed balcony slab connection might have a Ψ of 0.8 W/m·K. A properly broken one? Below 0.1. Multiply that across hundreds of linear meters on a high-rise and the numbers get ugly fast.
If you walk any commercial project, you’ll find the same culprits repeating. These aren’t exotic edge cases — they’re standard details that standard specs still get wrong.
Concrete slabs extending to the exterior face of the wall act like cooling fins. A 200mm slab edge exposed behind a curtain wall can leak more heat than the entire wall above it.
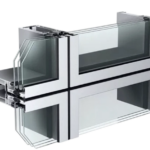
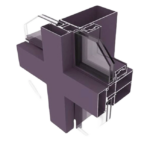
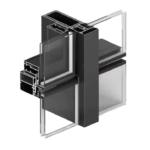
Aluminum conducts heat roughly 1,000 times better than insulation. Without a proper thermal break, every mullion becomes a heat highway.
The classic offender. A continuous concrete balcony protruding from a heated interior is an energy disaster unless a structural thermal break (like Schöck Isokorb) is specified.
The junction between frame and rough opening is where installers cut corners. Foam gaps, missing tapes, compressed insulation — all common.
Anywhere the envelope changes direction, continuity of insulation tends to break down.
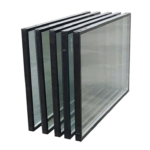
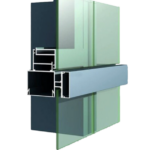
Aluminum is the hero and the villain of modern facades. It’s light, strong, formable, corrosion-resistant — which is why we build with it. But its thermal conductivity is around 237 W/m·K, compared to roughly 0.035 for mineral wool. That’s a 6,700x difference.
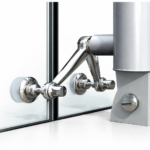
Without a thermal break, an aluminum mullion running from interior to exterior will condense water on its inside face in any cold climate. You’ll see it first as foggy glass corners, then as mold, then as a warranty claim.
Modern systems solve this with polyamide isolators — reinforced nylon strips (typically 24mm to 34mm wide) that physically separate the interior and exterior aluminum profiles. The wider the break, the better the performance. For projects in extreme climates, we’ve detailed this approach in our guide on curtain wall systems for Middle East conditions, where the logic flips (keeping heat out instead of in) but the principle stays identical.
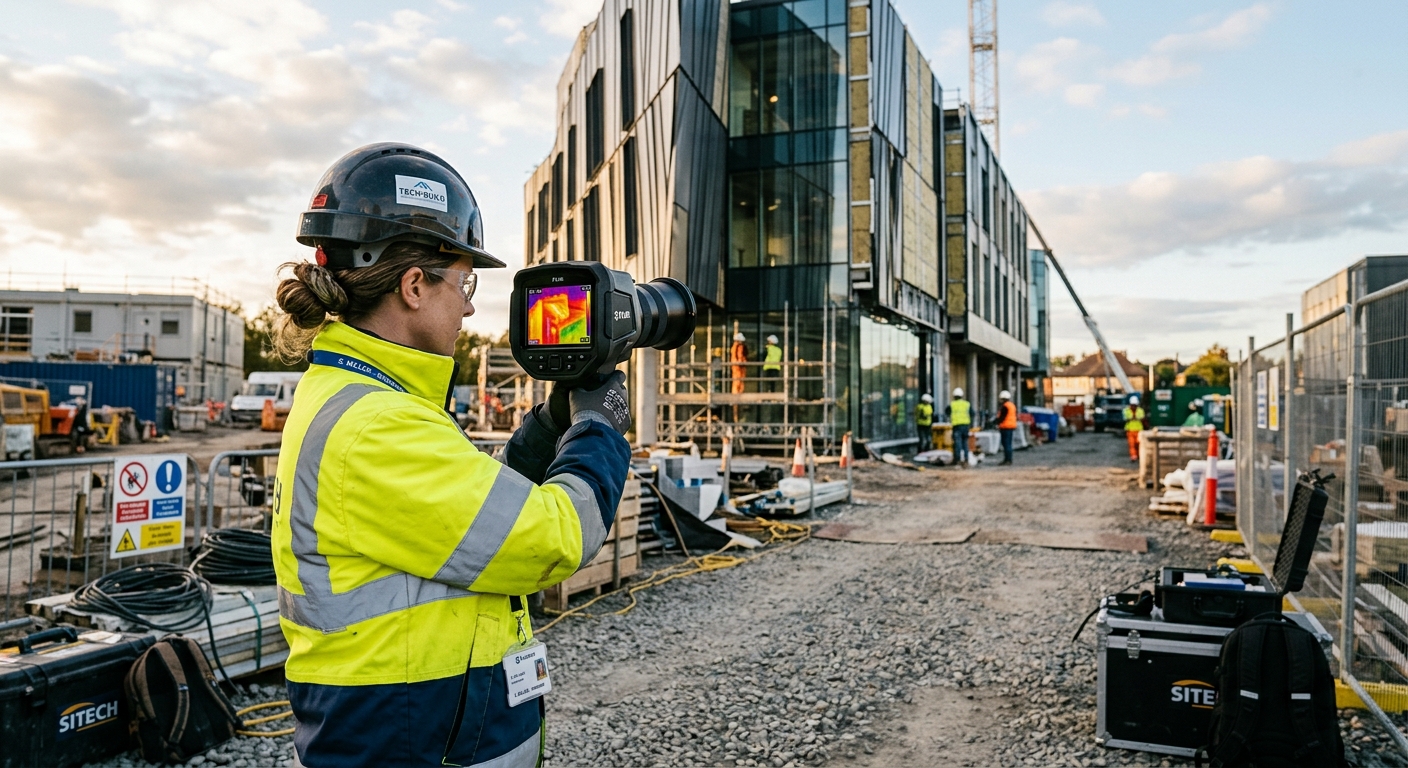
You can’t fix what you don’t measure. Serious projects model thermal bridges using 2D or 3D finite element software (THERM, HEAT2, Flixo) to calculate Ψ-values for every typical junction.
Here’s what realistic performance looks like across three scenarios for a 10,000 m² office building with 4,000 linear meters of slab edge:
For a developer, that’s the difference between hitting LEED Gold and missing it — and between a 15-year HVAC system and one that runs out of capacity in year 7.
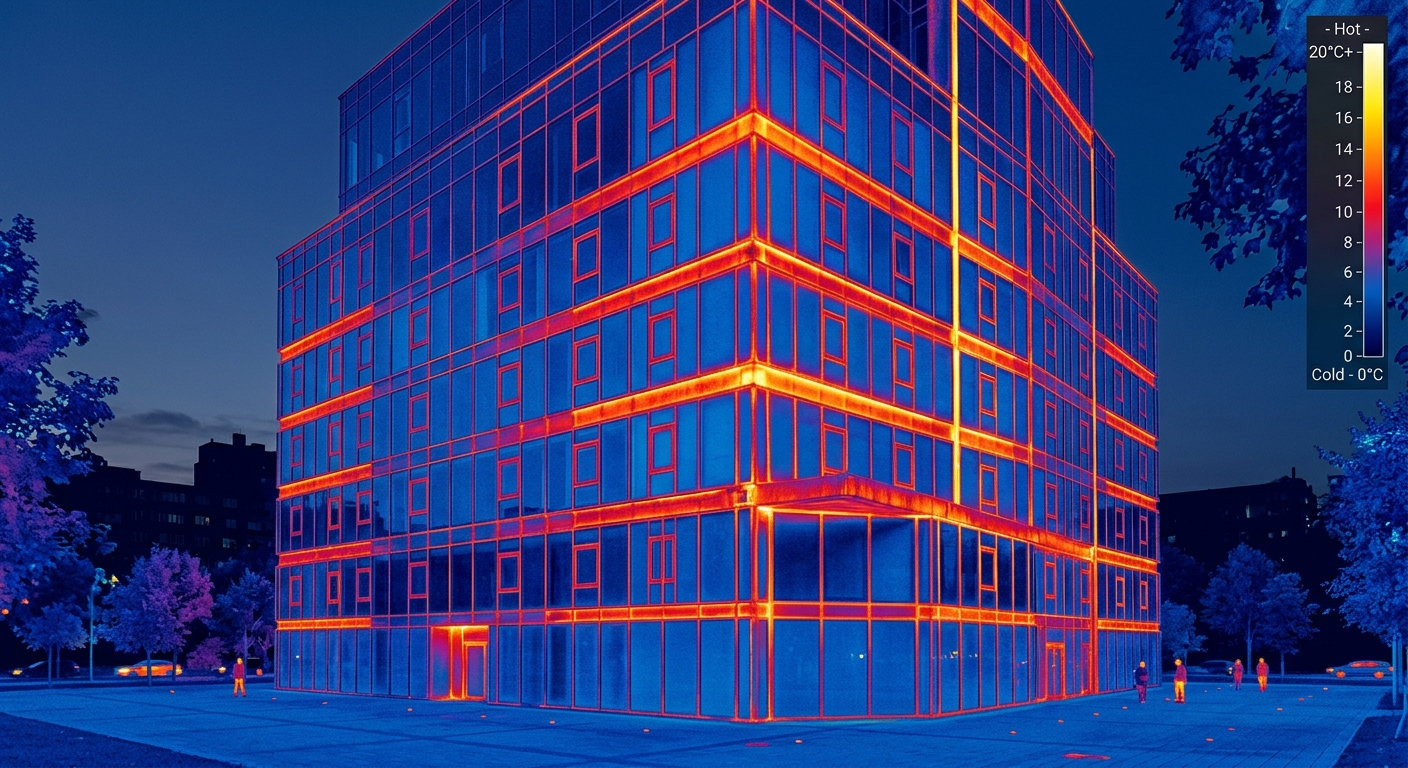
A mid-sized resort operator in southern Europe came to us after their 2019-built 180-room property started getting guest complaints about cold window areas and condensation staining the gypsum returns. Energy bills were also running 30% above the original model’s prediction.
Infrared scanning revealed the story in one afternoon: the curtain wall had been value-engineered during construction from a 34mm thermal break to a 16mm version, and the slab edges behind the spandrel panels had only 40mm of insulation instead of the specified 100mm. The building was hemorrhaging energy at every floor line.
The retrofit — replacing the spandrel insulation, adding thermal break extensions at slab edges, and upgrading the worst 40% of vision glass units — cut the annual heating and cooling load by 22%. Payback: 4.8 years. The lesson? Catch it at design and manufacturing stage, or pay three times as much to fix it later. This is exactly why our manufacturing process integrates thermal performance verification at the profile extrusion stage, not just during installation.

People assume modular construction sidesteps thermal bridging because factory quality control is higher. Partly true — but modular introduces its own category of bridges at module-to-module connections.
Every point where two modules meet is a potential seam. Steel chassis edges, lifting points, floor-to-ceiling connection plates — if the insulation and air barrier aren’t continuous across the joint, you’ve engineered a thermal bridge into every grid line of the building.
Well-designed modular systems handle this with overlapping insulation flanges, compressible gaskets, and site-applied thermal break tapes at connection points. We explored the broader trade-offs in our comparison of modular vs. traditional eco construction, and thermal detailing is one of the areas where factory-engineered systems actually outperform site-built — if the modules are designed with continuity in mind from day one.
The best thermal bridging solutions are the ones that cost zero extra if caught early. Here’s a practical checklist we hand to design teams at kickoff:
These five steps, applied at schematic design, eliminate 80% of the common bridging failures before anyone orders material.
Trust, but verify. Three practical verification steps before project handover:
Do a full envelope scan at handover during a heating or cooling season when there’s at least a 10°C differential between inside and outside. Bridges light up instantly. Budget: usually under $5,000 for a mid-sized building.
Not strictly a thermal bridge test, but air leakage often correlates with insulation discontinuity. Target 1.5 ACH50 or better for commercial buildings.
Embed a handful of surface temperature sensors at suspect junctions during the first winter. Data beats opinions in any warranty discussion.
For developers managing multiple projects, building this verification into the standard project delivery workflow turns thermal performance from a risk into a selling point. Tenants increasingly ask about it. Insurers are starting to, too.
Thermal bridging isn’t a mystery anymore. The physics is well understood, the products exist, the modeling tools are mature. What’s missing on most projects is attention at the right moment — specifically, the three weeks at schematic design where details get locked in and the facade contractor gets selected.
Get those weeks right and you deliver a building that meets its energy model, keeps tenants comfortable, and doesn’t generate condensation callbacks in year two. Get them wrong and you’re retrofitting at ten times the cost.
At apexecobuilt, we’ve spent 20+ years engineering aluminum systems and modular buildings where thermal continuity is designed in, not bolted on. If you’re scoping a project where energy performance matters — and in 2026, which one doesn’t? — talk to our engineering team early. We’d rather help you avoid the bridges than explain them after the fact. You can also browse our curtain wall and facade systems to see the thermal break specifications we build to as standard.


Fill out the form below and our team will get back to you within 24 hours with a tailored solution.


